
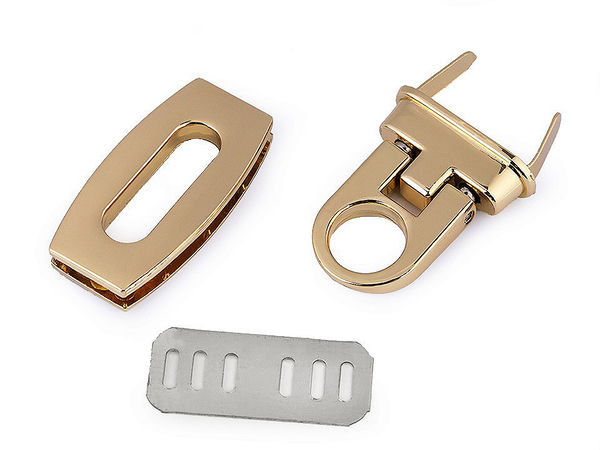
Specifications
| material | nonmagnetic metal - washable |
| material | metal |
| Dimensions: | 20 x 40 mm |
Premium Rectangular Handbag Lock Set - 20x40mm Metal Clasp Fastener for Purses, Bags, and DIY Leathercraft
Color
1 gold classicPackaging Option
1 setDetails
Description Elevate your bespoke creations with this premium Rectangular Handbag and Purse Lock Set. Engineered for both professional leathercraft and passionate DIY bag-makers, this high-quality metal clasp offers a secure, reliable, and elegant fastening solution. It adds a polished, retail-ready finish to clutches, purses, satchels, and cross-body bags. Key Features * **Elegant & Durable Design:** Crafted from high-grade, wear-resistant metal alloy, ensuring long-lasting performance and a beautiful tactile feel. * **Secure Fastening:** The robust locking mechanism provides reliable closure to keep belongings safe while remaining smooth and easy to open. * **Complete Hardware Kit:** Comes fully equipped with all components required for immediate installation, ensuring a professional front-and-back finish. * **Multi-Material Compatibility:** Seamlessly installs on leather, suede, canvas, and heavy-duty textiles. Technical Specifications * **Dimensions:** 20 mm x 40 mm (0.79" x 1.57") * **Material:** Heavy-duty metal hardware * **Components Included:** 1 Front-facing lock piece with prongs, 1 receiving lock piece, 1 securing backing washer, and installation screws. * **Available Finishes:** Select from our range of classic finishes, including Gold Classic, Vintage Brass, Nickel, and Black Nickel. Installation Instructions 1. **Mark the Incisions:** Place the pronged leg section of the lock onto the designated area of your fabric or leather. Mark the positions of the prongs and make clean, precise cuts. 2. **Insert the Prongs:** Push the prongs from the front side of the material through to the reverse/lining side. 3. **Secure the Backing Washer:** Slide the metal washer counterpart over the prongs, press the components firmly together, and bend the prongs flat and outward to lock them securely. 4. **Mount the Receiver:** Carefully cut a matching opening for the receiving part of the lock. Fit the receiving hardware into place and secure it tightly from the back using the provided screws.