
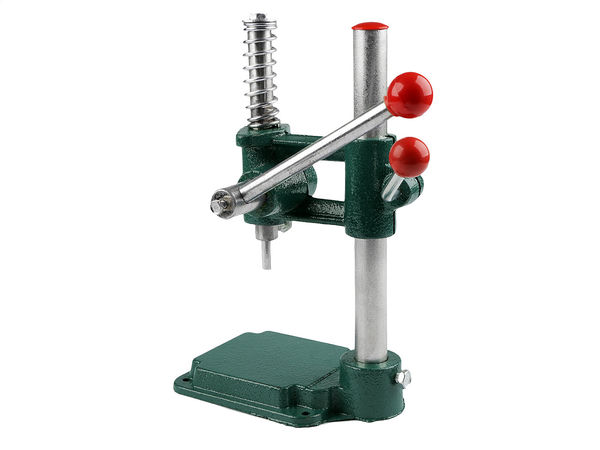
Specifications
| material | metal |
| Dimensions: | 12 x 19 cm |
| Height: | 30 cm |
Professional Hand Press Button Machine for Self-Cover Fabric Buttons - Green
Color
greenPackaging Option
1 pc.Details
Description Elevate your crafting, tailoring, and upholstery projects with this professional manual hand press button machine. Engineered specifically for assembling custom fabric-covered buttons, this heavy-duty press delivers consistent, workshop-grade results. It is the perfect addition to any haberdashery, sewing studio, or DIY workspace looking to create bespoke, color-matched fasteners. *Please note: This press is designed exclusively for button assembly and does not punch holes. Compatible molds and self-cover button blanks are sold separately.* Key Features * **Heavy-Duty Manual Lever:** Offers smooth, ergonomic operation by pulling the handle towards you to compress button components with minimal effort. * **Bench-Mount Stability:** Designed with integrated mounting holes so the machine can be bolted securely to a table, workbench, or solid work surface for safe and stable operation. * **Bespoke Button Customization:** Easily cover matching button shells with your choice of fabric to perfectly complement garments, cushions, and other textile projects. Technical Specifications & Compatibility * **Function:** Fabric self-cover button press (does not punch holes). * **Compatible Mold:** Mold model 090859 (required and sold separately). * **Compatible Button Blanks:** Self-cover buttons 730363, 740076, 090861, or other compatible sizes (sold separately). * **Mounting Requirement:** Must be bolted to a solid surface prior to operation. * **Color:** Green Step-by-Step Operating Instructions 1. **Prepare Fabric:** Cut a circle or square of your chosen fabric slightly larger than the button shell size. 2. **Load the Mold:** Place the button shell (plate) and the cut fabric into piston Part A. Insert the plastic button back into Part B. 3. **Position the Piston:** Fold both parts of the piston mold together and place them under the press, making sure Part A is positioned on top. 4. **Compress:** Pull the lever firmly towards you to compress and seal the two halves of the button together. 5. **Retrieve the Button:** Separate the two parts of the piston and remove your finished fabric-covered button.